


Go Back
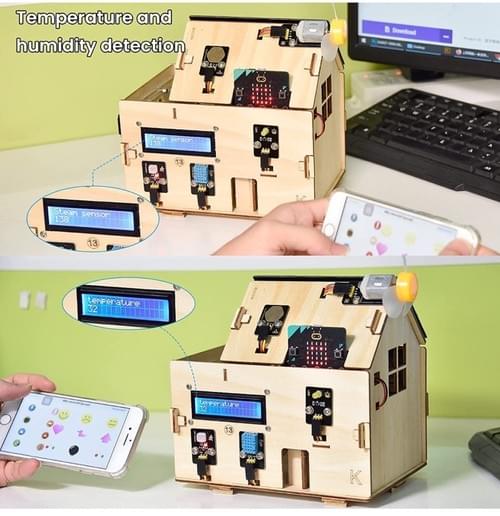
Microbits Wood House
Use microbits and sensors to make a smart house.
More Details
Materials included in the kit:
- Wooden sheets pre-cut to size
- Plastic base
- Screwdriver
- Screws
- Servo motor
- Ultrasonic sensor
- LEDs
- Microbit board
- Battery pack
Instructions:
- First, assemble the plastic base by attaching the two side panels to the front and back panels using the screws and screwdriver provided in the kit.
- Attach the ultrasonic sensor to the front panel of the base using the screws and screwdriver.
- Attach the servo motor to the top panel of the base using the screws and screwdriver.
- Place the microbit board into the slot on the side of the base and connect it to the servo motor and ultrasonic sensor using the jumper wires provided.
- Attach the LEDs to the top panel of the base using the screws and screwdriver.
- Connect the LEDs to the microbit board using the jumper wires provided.
- Insert the battery pack into the slot on the side of the base and connect it to the microbit board using the jumper wires provided.
- Use the code provided in the kit to program the microbit to control the servo motor, ultrasonic sensor, and LEDs according to your desired functions.
- Once you've tested your code and ensured that everything is working properly, slide the wooden panels into the slots on the base to form the walls and roof of the house.